
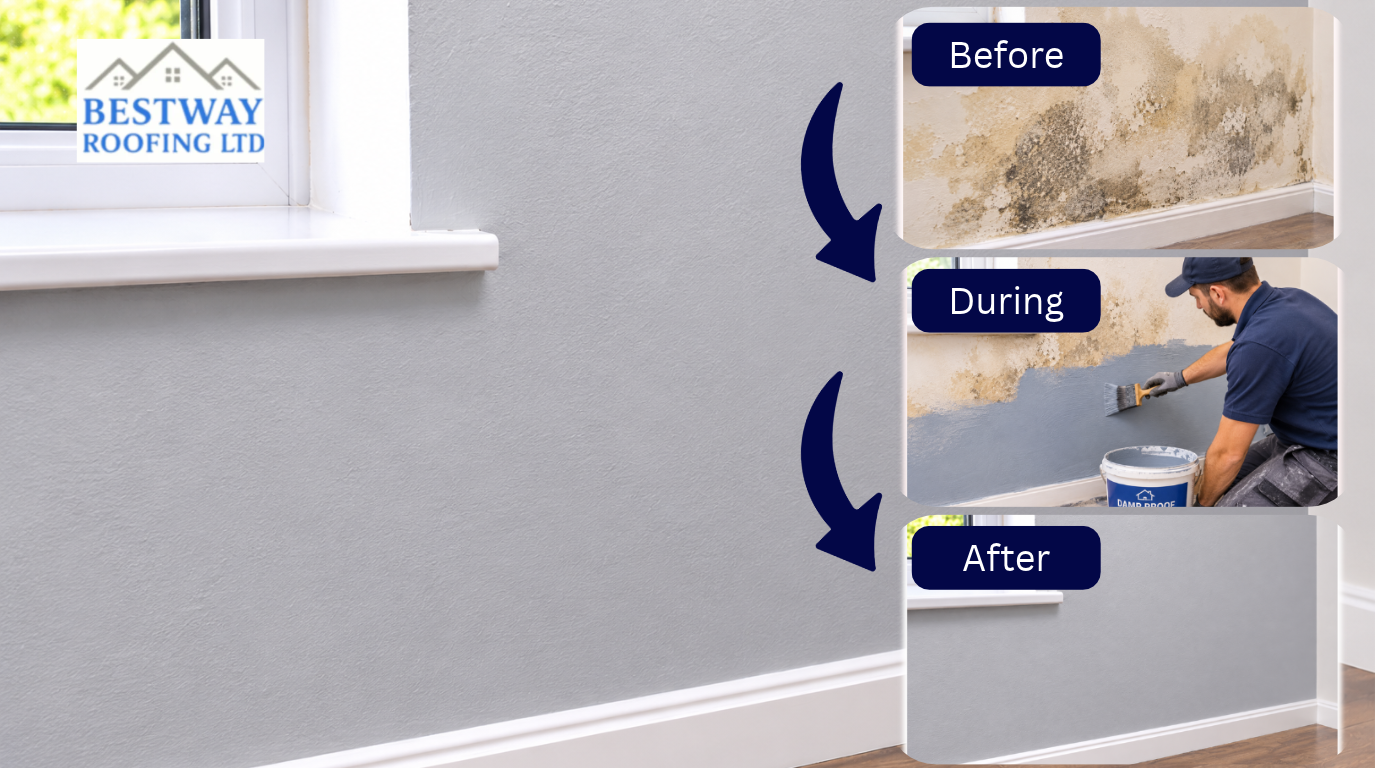
To damp-proof a wall, first identify the type of damp (rising damp, penetrating damp or condensation) and fix the source of the moisture, such as a leaking gutter, cracked render or blocked airbrick. Let the wall dry out, then apply the right treatment: a chemical damp-proof course (DPC) injected into the brickwork for rising damp, repointing and a breathable masonry sealer for penetrating damp, or better ventilation and heating for condensation. Finish by replastering with a salt-resistant render or fitting a damp-proof membrane where needed. Treating the wall without fixing the cause is the number one reason damp comes back.
Damp walls are one of the most common problems in UK homes, and they rarely fix themselves. Left alone, damp can peel paint, rot skirting boards, spoil plaster, create mould, and, over time, weaken your property’s structure. The good news is that you can treat most damp problems once you know what is causing them.
In this guide, we explain how to damp proof a wall step by step, which method suits which type of damp, what mistakes to avoid, and when it is worth calling a professional.
What Is Damp Proofing and Why Do Walls Get Damp?
Damp proofing means stopping moisture from entering a wall or travelling through it into your living space. It can involve a barrier built into the structure, a surface treatment, or repairs that remove the water source.
Walls become damp for a few main reasons:
- Groundwater moving upwards: Water in the soil is drawn up through porous bricks and mortar by capillary action.
- Rainwater getting in from outside: Cracked render, failed pointing, damaged roofs and leaking gutters let water soak into the masonry.
- Warm, moist air meeting cold surfaces: Cooking, showering and drying clothes indoors create condensation, especially in poorly ventilated rooms.
- A failed or bridged damp proof course: Older homes may have a DPC that has cracked, or one that is bypassed by raised soil, paving or rendering.
Most homes built after the early 1900s have a physical damp proof course, usually a layer of slate, bitumen or plastic set into the brickwork just above ground level. When that barrier fails or is bridged, moisture can reach the wall above it.
Types of Damp: Rising Damp, Penetrating Damp and Condensation
You cannot choose the right treatment until you know the different types of damp you have. Each one has a different cause and a different fix, and a professional roofing contractor can identify the source quickly
| Type of damp | Main cause | Where it usually appears | Typical look |
|---|---|---|---|
| Rising damp | Ground moisture traveling up through the wall | Ground floor walls, up to about 1 meter high | Tide marks, peeling paint, salt deposits, damp skirting boards |
| Penetrating damp | Water entering from outside through defects | Anywhere, often near leaks, windows or chimneys | Isolated damp patches that get worse after rain |
| Condensation | Moist air condensing on cold surfaces | Bathrooms, kitchens, bedrooms, window reveals | Black mould, wet windows, damp corners |
Common Causes of Damp
Damp rarely appears without a reason. Finding the real cause is the first step, because treating the wall without fixing the source means the problem will come back. These are the most common causes in UK homes:
- Leaking or blocked gutters: When gutters overflow or leak, rainwater runs down the wall and soaks into the brickwork. This is one of the most common causes of penetrating damp.
- Damaged roof or flashing: Slipped or broken tiles, worn flashing, and failed chimney details let water in, and it often travels down into the walls below.
- Cracked render or failed pointing: Gaps in the outer surface let rain soak straight into the masonry, especially on walls exposed to wind and driving rain.
- High ground levels: Soil, paving or decking built up against the wall can sit above the damp-proof course. This lets ground moisture pass into the wall.
- A failed or bridged damp-proof course: In older homes, the DPC may have cracked or worn out. In some cases, rendering, soil, or debris bypasses it.
- Blocked airbricks: Airbricks keep air moving under the floor. When they are covered, moisture builds up and can reach the walls.
- Poor ventilation: Cooking, showering and drying clothes indoors add moisture to the air. Without enough airflow, it settles on cold walls as condensation.
- Plumbing leaks: A slow leak from a pipe, radiator or overflow can look just like damp in a wall, so always rule it out first.
Signs Your Wall Needs Damp Proofing
- Peeling or bubbling paint and wallpaper
- White, powdery salt deposits on the plaster (efflorescence)
- A horizontal tide mark on the lower part of the wall
- Damp, rotting or crumbling skirting boards
- A musty smell that does not go away
- Black or green mould patches, especially in corners
- Plaster that feels cold, soft or wet to the touch
- Wet patches that appear or grow after heavy rain
If you notice even one of these signs, contact us for a professional damp inspection.
How to Damp Proof a Wall | Step-by-Step
The exact process depends on the type of damp, but the steps below cover the usual approach for a ground floor wall affected by rising or penetrating damp.
Step 1: Diagnose the problem
Confirm whether you are dealing with rising damp, penetrating damp or condensation. Treating the wrong problem will not work and can make things worse.
Step 2: Repair the source of moisture
Fix leaking gutters, replace broken tiles, repair cracked render, lower any raised ground levels and clear blocked airbricks. This step alone often solves penetrating damp.
Step 3: Prepare the wall
Remove affected wallpaper and paint. For rising damp, hack off the old plaster to about 1 meter high, or at least 300 mm above the highest damp mark. Old plaster holds salts that keep attracting moisture, so don’t reuse it. Let the bare brickwork dry.
Step 4: Install a new damp-proof course
For rising damp, a chemical DPC is the most common repair. Drill holes into the mortar line, usually just above ground level, and inject a damp-proofing cream or fluid. This forms a water-repellent barrier inside the wall. Spacing and depth vary by product and wall thickness, so always follow the manufacturer’s instructions.
Step 5: Treat penetrating damp from the outside
Repoint any failing mortar joints and repair cracks in the render. Where the wall is exposed to driving rain, apply a breathable masonry water repellent. Avoid sealing the wall with non-breathable coatings, as these can trap moisture inside.
Step 6: Apply a salt-resistant render or a damp-proof membrane
Once the wall is dry, apply a waterproof render coat (often called a tanking slurry or a sand and cement render with a waterproofing additive), followed by a salt-resistant plaster. In some cases, a cavity drain membrane is fixed to the wall instead, which lets any remaining moisture drain away safely.
Step 7: Let it dry, then decorate
New plaster needs time to dry fully, so wait before painting. Use a breathable paint, such as a mineral or limewash paint on older walls, and avoid vinyl wallpaper on a wall that was recently treated.
Step 8: Improve ventilation
Fit or service extractor fans, open windows regularly, and keep furniture slightly away from external walls. Good airflow stops moisture from building up again.
Damp Proofing Methods Compared
There is no single best method. The right choice depends on the type of damp, the age of the property and the condition of the wall.
| Method | Best for | How it works | Things to note |
|---|---|---|---|
| Chemical DPC injection | Rising damp | Cream or fluid injected into the mortar line forms a water-repellent barrier | Needs new plaster afterwards; best done by a trained installer |
| Damp proof membrane (cavity drain) | Severe or persistent damp on internal walls | Studded membrane fixed to the wall channels moisture to a drain | Reduces usable room space slightly |
| Tanking slurry or waterproof render | Basements and below-ground walls | Cementitious coating applied to the wall surface | Needs thorough surface preparation |
| Repointing and render repair | Penetrating damp | Restores the outer barrier against rain | Quick and cost-effective when the cause is damaged masonry |
| Breathable masonry water repellent | Exposed brick or stone walls | Repels rain while letting the wall breathe | Not a fix for rising damp |
| Ventilation and heating improvements | Condensation | Reduces moisture in the air | Extractor fans, trickle vents and a dehumidifier all help |
For older homes with solid walls, avoid cement-heavy renders and non-breathable paints. Traditional lime-based materials let the wall release moisture naturally and are usually a safer choice.
Damp proofing cost in the UK
Prices vary by region, access and the condition of the wall. The ranges below are typical UK figures for 2026 and exclude VAT, so always get at least two or three written quotes.
| Work | Typical UK cost |
|---|---|
| Independent damp survey | £150 to £400 |
| Chemical DPC injection | around £40 to £120 per linear metre, depending on contractor and region |
| Replastering with a damp-resistant render | around £40 to £80 per square metre |
| Cementitious tanking (cellars and basements) | around £40 to £70 per square metre |
| Full damp-proof course with replastering, whole house | roughly £1,500 to £4,000 |
Be cautious about any quote that leaves out replastering, as that is often where much of the real cost sits.
Want a more detailed price breakdown? Read our full guide on how much damp proofing costs in the UK and what affects the price.
Common Damp Proofing Mistakes to Avoid
Many damp problems return within a year or two because of avoidable errors. Watch out for these:
- Painting over damp: Anti-damp paint hides the symptoms for a while but does not stop the moisture.
- Skipping the diagnosis: Injecting a chemical DPC into a wall suffering from condensation or a leaking gutter will not solve anything.
- Reusing old plaster: Plaster contaminated with salts will keep drawing moisture back to the surface.
- Using non-breathable materials on old walls: Cement render and waterproof paints can trap moisture inside solid brick or stone walls.
- Raising ground levels: Piling soil, gravel or decking against the wall can bridge the DPC.
- Ignoring ventilation: Even a well-treated wall can become damp again if the room has no airflow.
- Not allowing drying time: Plastering or decorating before the wall has dried out traps moisture and causes new problems.
When to call a Roofing Specialist
Some jobs suit a confident DIYer, while others need a trained damp specialist. The right call depends on the cause and how widespread the problem is.
- Clear gutters and downpipes
- Clean out airbricks and lower raised soil levels
- Improve ventilation and use a dehumidifier
You can also fix minor cracks in render or small areas of pointing, and apply a breathable masonry water repellent to exposed brickwork. Older or listed properties with solid walls also need specialist materials, so it is best to get expert advice before starting any work.
A roofing specialist also gives you something DIY cannot: an insurance-backed guarantee on the work, which can matter when you sell your home. At Bestway Roofing – Chelmsford Roofing, we provide professional damp proofing services for homes across Chelmsford, Braintree, Ipswich and the surrounding areas. Our team will find the real cause of the damp, carry out the right repairs, and treat the problem properly so it doesn’t come back.
Not sure whether you can handle it yourself? Call us today for a free, no-obligation quote.
FAQs
How long does a damp proof course last?
A properly installed chemical DPC can last around 20 years or more, depending on the product, the wall and how well the building is maintained. Many contractors offer 10- to 20-year guarantees.
How long does a wall take to dry after damp proofing?
As a rough guide, allow about one month for every 25 mm of wall thickness, though it can take longer in winter or in poorly ventilated rooms. Wait until the wall is fully dry before redecorating.
Does anti-damp paint work?
Anti-damp paint can cover stains and slow minor surface problems, but it doesn’t cure the cause of damp. Use it only after you fix the source of moisture.
What is the best way to damp-proof an internal wall?
First fix the cause, then remove damaged plaster, install a DPC if rising damp is present, and finish with a waterproof render or a damp-proof membrane. For condensation, improving ventilation and heating is usually enough.
