
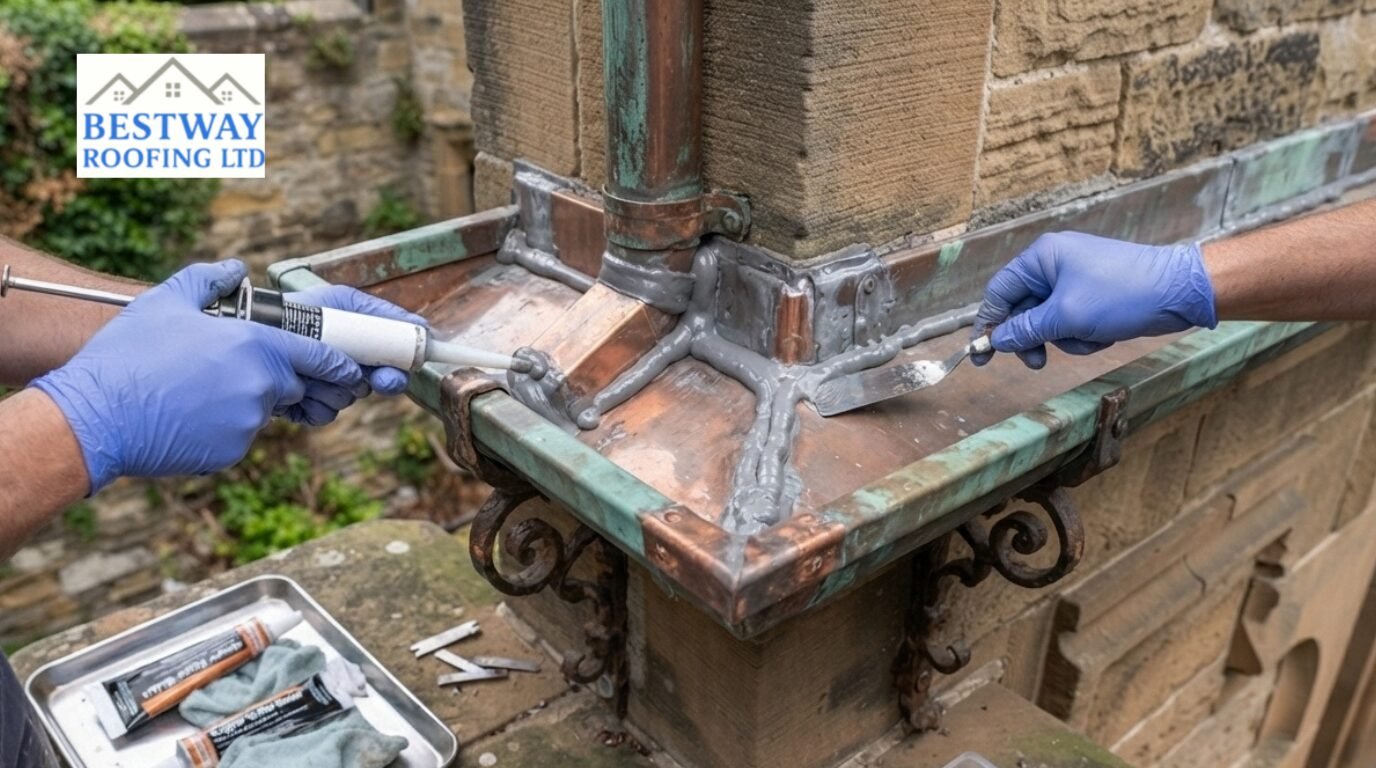
A leaking gutter joint is one of the most common issues homeowners face, and while it might seem like a minor annoyance, unresolved leaks can lead to damp walls, damaged fascias, and even foundation problems over time. Strong, properly applied guttering joint seals are often the most effective fix, but getting it right depends on choosing the correct sealant and applying it properly for your specific gutter type and joint.
If you are wondering how to seal leaking gutter joints, this guide covers everything from understanding different joint types to selecting the right sealant, applying it correctly, and knowing when a simple reseal isn’t enough.
Understanding Gutter Joint Types
Not all gutter joints are the same, and knowing which type you’re dealing with helps determine the best sealing approach and where leaks are most likely to occur.
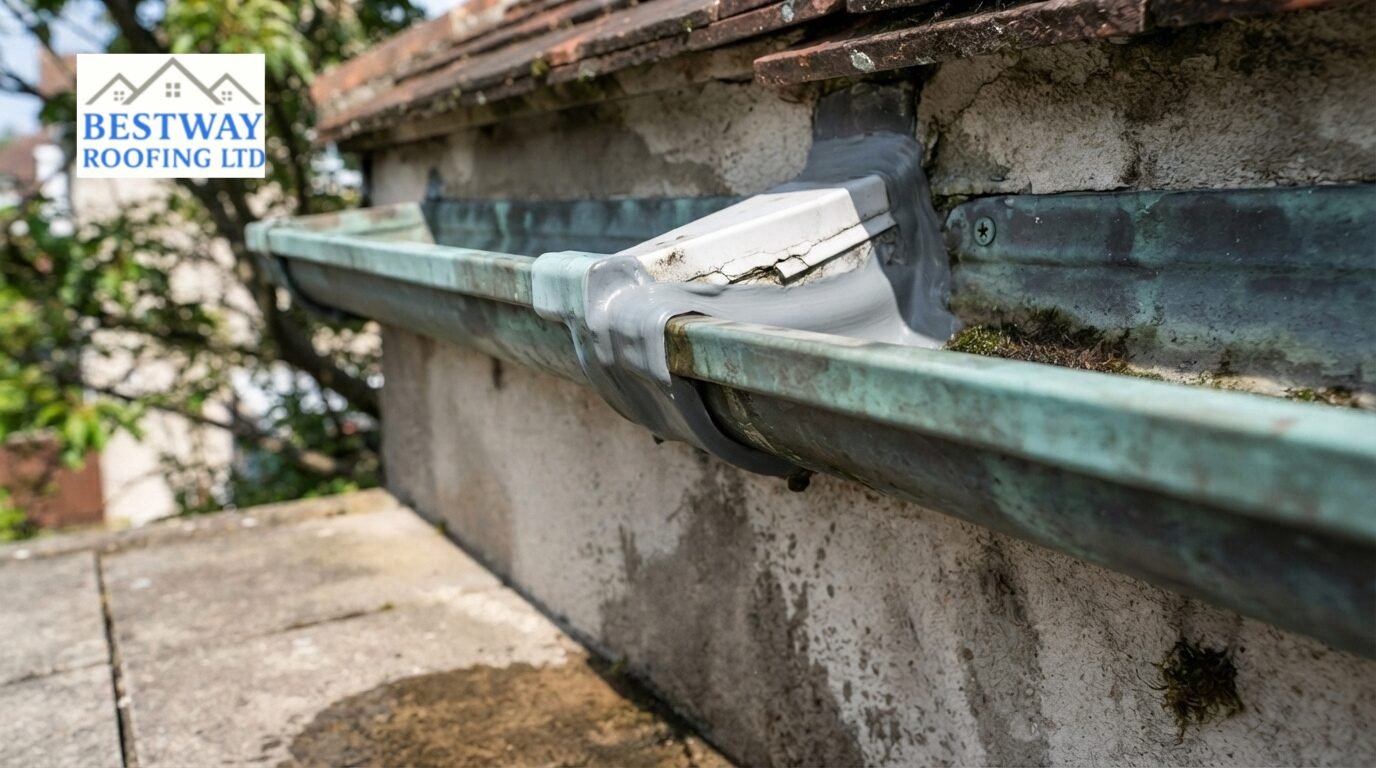
Union or Connector Joints
Union joints link straight sections of guttering together and are among the most common failure points due to constant expansion and contraction. Because these joints run along flat stretches of guttering, they’re often the first place homeowners notice dripping, particularly after temperature fluctuations loosen the seal.
Corner Joints
Corner joints direct water around the angles of a roofline and often experience more stress from water flow, making them prone to wear. Water tends to collect and change direction sharply at these points, increasing pressure on the seal relative to straight sections, especially during heavy rainfall.
Outlet and Downpipe Joints
Outlet and downpipe joints connect the gutter to the downpipe system and are particularly vulnerable to blockages, which can put added pressure on the seal. When leaves or debris build up near the outlet, water pools rather than draining freely, increasing the likelihood of overflow and leaks at this connection.
Stop End Joints
Stop end joints seal off the open ends of a gutter run, preventing water from spilling out along the roofline. These joints are especially prone to leaks on older systems, as the cap can loosen or the sealant can dry out faster due to constant exposure at the exposed end.
Angle Joints
Angle joints are used where guttering changes direction but not at a sharp corner, such as along a hip roof. Similar to corner joints, they experience increased water flow pressure, and because they’re often installed at less common angles, achieving a fully even seal can be more challenging.
Expansion Joints
Expansion joints are designed specifically to accommodate the natural expansion and contraction of guttering material, particularly in longer runs or systems with significant temperature exposure. While built to allow movement, the seals at these joints can wear out faster than standard joints if not maintained or resealed periodically.
How to Choose the Right Sealant for Your Gutter
The right sealant largely depends on your gutter material and the level of flexibility and durability you require.
Silicone Sealant (Best for Metal Gutters)
Silicone sealant offers strong adhesion and flexibility, making it well-suited to metal guttering that experiences frequent expansion and contraction. It’s also highly resistant to moisture and UV exposure.
Polyurethane Sealant (Flexible, Weather-Resistant)
Polyurethane sealants are known for their durability and ability to withstand harsh weather conditions. They bond well to a range of materials and remain flexible even in colder temperatures.
Butyl-Based Sealant (Long-Lasting, Heavy-Duty Use)
Butyl-based sealants are a popular choice for heavy-duty applications, offering excellent long-term waterproofing. They’re particularly effective on joints exposed to constant water flow.
Plastic/uPVC Gutter Sealant
For uPVC guttering, a sealant specifically formulated for plastic surfaces is essential, as standard sealants may not adhere properly and can lead to early failure.
Tools and Materials You’ll Need
Having the right equipment on hand before starting makes the sealing process smoother and ensures a more durable finish.
- Sealant gun
- Wire brush or sandpaper
- Cleaning solution or degreaser
- Gloves and safety gear
- Ladder and stabiliser
How to Seal Leaking Gutter Joints the Right Way
Proper application technique is just as important as choosing the right sealant, since even the best product will fail if applied incorrectly. Knowing how to seal gutter joints properly means every step plays a role in creating a seal that withstands weather and water pressure over time.
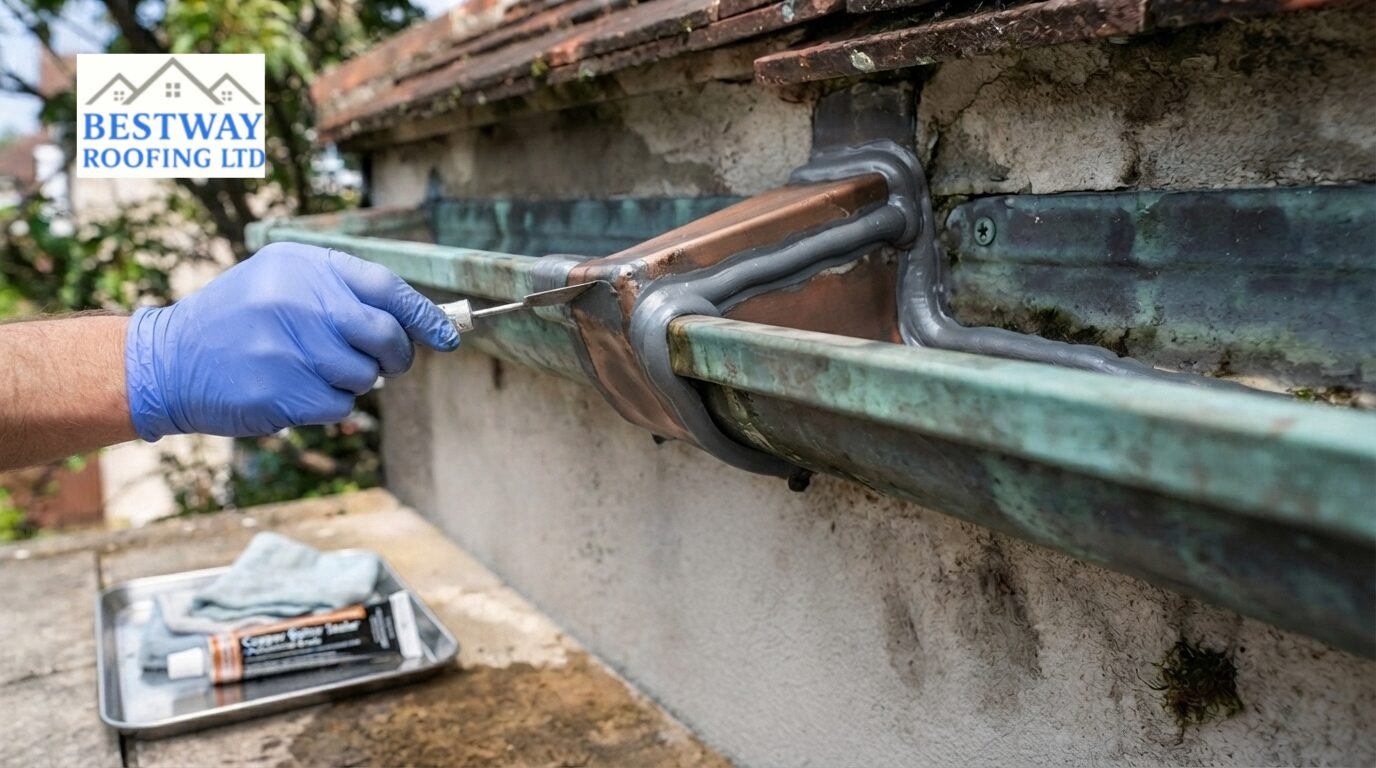
Preparing the Joint Surface
Start by clearing any leaves, dirt, or debris from around the joint. Use a wire brush or sandpaper to remove old, flaking sealant and any rust or corrosion on metal gutters. The surface should then be cleaned with a suitable degreaser or cleaning solution to remove oils and residue that could prevent the new sealant from bonding properly. Once cleaned, allow the area to dry completely, ideally on a dry day with low humidity, since any trapped moisture underneath the sealant can cause it to fail prematurely.
Applying an Even Sealant Bead
Load the sealant into the gun and cut the nozzle at an angle suited to the width of the joint gap. Starting from one end of the joint, apply steady, even pressure to lay down a continuous bead of sealant along the full length of the seam. Avoid stopping and starting in the middle of a joint, as this can create weak points where the seal doesn’t fully connect. For larger gaps or union joints, a slightly thicker bead ensures complete coverage without leaving any exposed sections.
Smoothing and Shaping the Seal
Using a sealant smoothing tool or a gloved finger dipped in a small amount of soapy water, run along the bead to press it firmly into the joint and create a smooth, even finish. This step isn’t just cosmetic; it helps push the sealant into any small gaps or irregularities in the joint, improving adhesion and reducing the chance of water getting through. Wipe away any excess sealant from the surrounding gutter surface before it sets.
Curing Time Before Testing
Once applied, the sealant needs time to cure fully before being exposed to water. Most sealants require at least 24 hours, though this can vary depending on the product and weather conditions, with cooler or more humid conditions often extending curing time. Avoid running water through the gutter or exposing it to rain during this period. Once cured, test the joint by running water through the gutter system and checking closely for any signs of dripping or seepage.
Why Gutter Joints Leak Even After Sealing
Even properly sealed joints can fail over time, and understanding why helps prevent repeat problems.
- Incompatible sealant for the gutter material is a common culprit. Using the wrong type of sealant on plastic versus metal guttering can result in poor adhesion and premature failure.
- Applying sealant to a wet or dirty surface prevents proper bonding, often causing leaks to reappear shortly after application.
- Applying too thin a layer of sealant can leave gaps or weak points that fail to withstand water pressure.
- Skipping the recommended cure time before testing compromises the seal before it’s had a chance to fully set, making it more likely to fail early.
- Thermal expansion causes gutters to expand and contract with temperature changes, gradually stressing and breaking the seal at joints.
- UV exposure and weathering degrade the sealant over time, causing it to become brittle, crack, or lose its flexibility, which is often why homeowners need to fix a leaking gutter joint more than once.
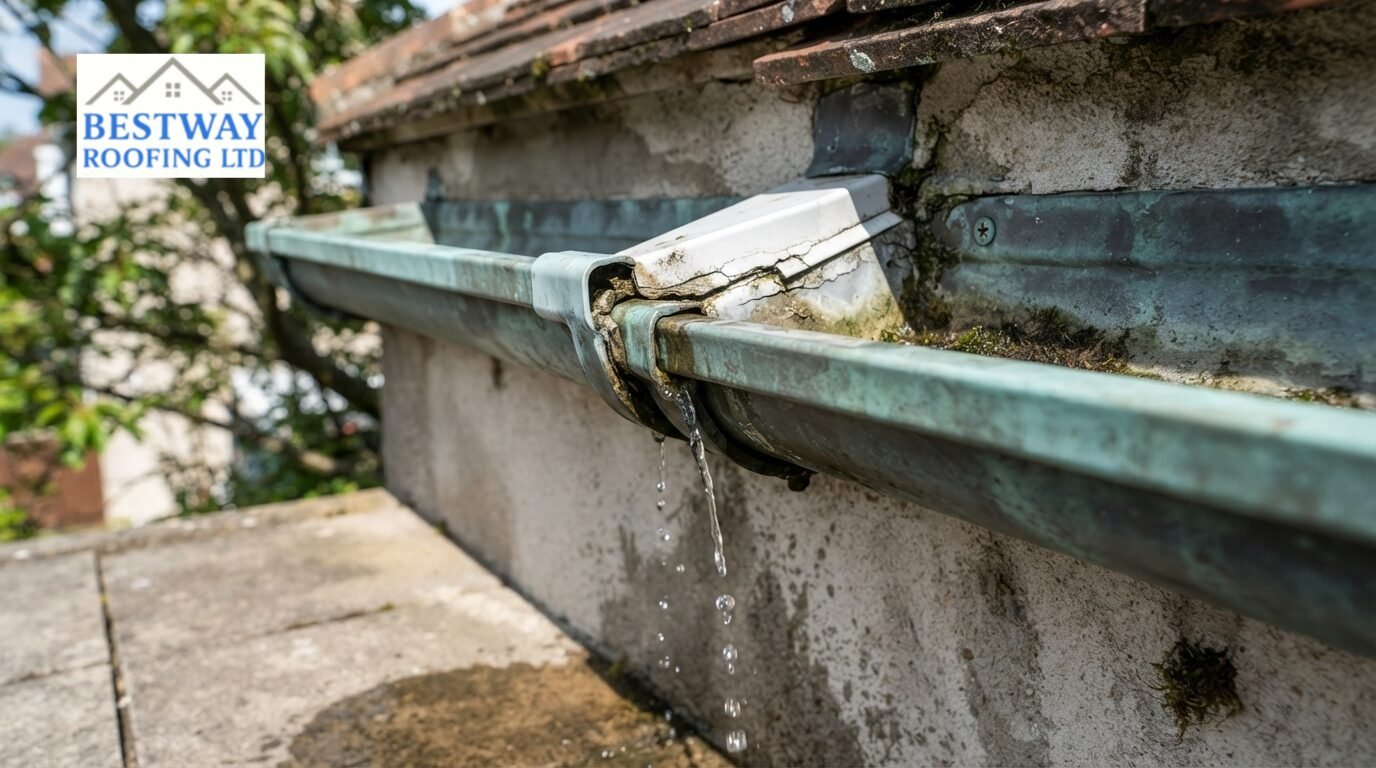
How Long Does Gutter Sealant Last?
The lifespan of a gutter seal depends on the type used and the conditions it’s exposed to. Silicone and polyurethane sealants typically last several years under normal weather conditions, whereas lower-quality or incompatible sealants may fail much sooner.
When It’s Worth Calling a Professional
Sealing a single, easily accessible gutter joint can often be managed as a DIY task with the right tools and preparation. However, fixing leaks, sagging gutters, or multiple problem areas across the roofline are usually signs that professional intervention is worthwhile.
At Bestway Roofing Ltd, our gutter repair services are carried out by professional roofers in Chelmsford who assess the full extent of the issue, not just the visible symptoms. We use the correct sealant for your specific gutter material and ensure every joint is properly prepared and sealed for lasting results.
Conclusion
Properly sealing a leaking gutter joint requires more than just applying sealant; it depends on choosing the right product for your gutter material and following the correct application process. Getting these details right helps prevent recurring leaks and protects your property from water damage over time.
If you’re dealing with a persistent leak or aren’t sure which sealant is right for your gutters, Bestway Roofing is here to help.
Get in touch today to arrange an inspection and receive expert advice tailored to your property.
FAQs
What Is the Best Sealant for Leaking Gutter Joints?
The best sealant depends on your gutter material. Silicone works well for metal gutters, while uPVC gutters require a plastic-specific sealant for proper adhesion.
How Long Does Gutter Sealant Take to Cure?
Curing times vary by product, but most sealants require at least 24 hours to fully cure before exposure to water.
Can I Use Silicone Sealant on Plastic Gutters?
Standard silicone sealant may not bond well to plastic or uPVC surfaces. It’s best to use a sealant specifically designed for plastic guttering.
How Often Should Gutter Joints Be Resealed?
This depends on the sealant type and weather exposure, but most joints benefit from a reseal every few years to maintain an effective watertight barrier.
